Skills · rescue
Self-rescue for packrafters
Everyone who runs rivers swims sooner or later. The swim goes much better when you have practiced it on purpose, in warm water, with friends watching.
Last checked November 2026
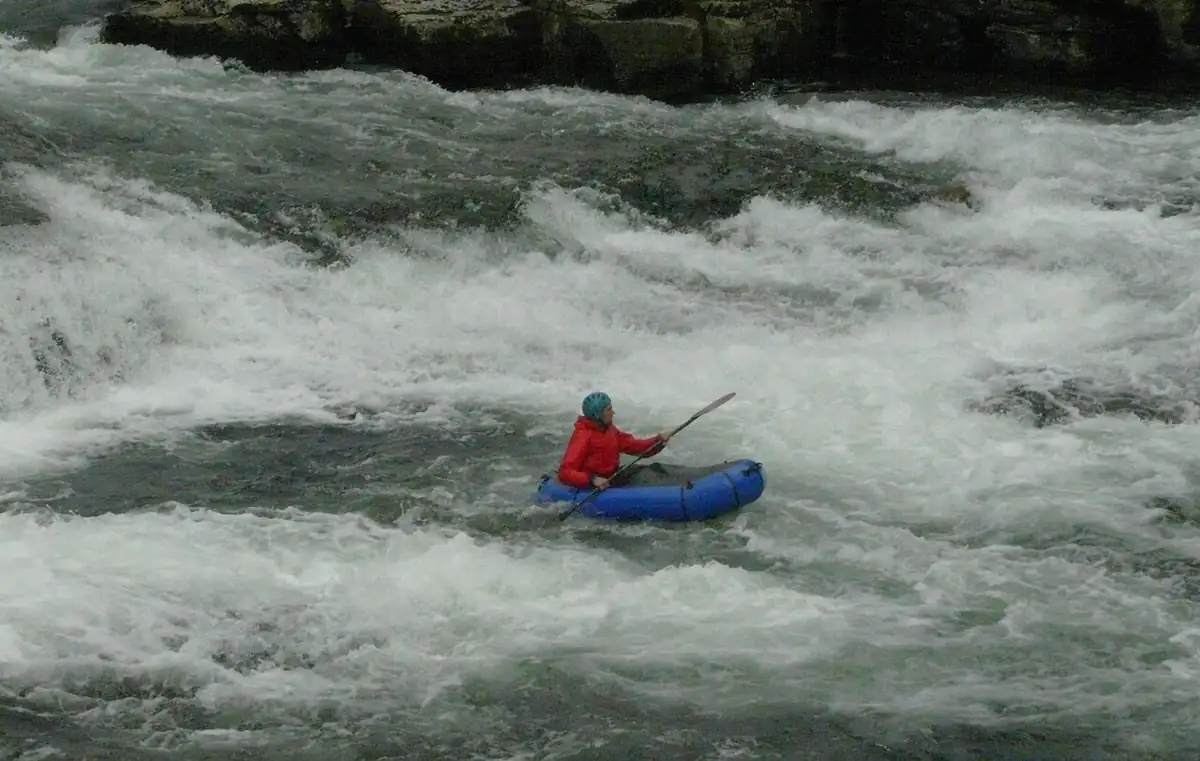
Packrafts are stable, but they are light, and a wave, a hole or an eddy line will eventually put you in the water. How the swim goes depends on your body position in the current, whether you keep hold of your gear and whether you can climb back in. A packraft-specific swiftwater course usually spends a whole day on this. For paddlers who came to the sport from backpacking and learned rivers by luck, it tends to be the day that changes how they paddle.
Kayakers learn to roll. Most packrafters, like other inflatable paddlers, rely on a wet re-entry instead: swim, right the boat if needed and climb back in. American Whitewater's safety code recommends practicing wet re-entry in place of a roll for inflatable boats. If you have not yet paddled on flat water, start with the beginner primer and come back once you can launch and turn.
The first few seconds
A swim starts with surprise. Cold water makes it worse: the gasp on entry, then fast breathing for the first minute or so. The cold-water page covers that response in detail. Your first job is simple: get your face up, breathe, and look downstream.
- Surface and get your breath. Turn your face away from splashing waves.
- Look downstream. Are there hazards ahead, and where is the nearest calm water?
- Get upstream of your boat so it cannot pin you against a rock.
- Decide: hold the boat and re-enter, swim the boat to shore, or let it go and swim.
- Signal the group with a whistle or a raised arm if you need help.
Defensive swimming
Get on your back with your feet pointing downstream and at the surface, toes visible. Your feet and the soles of your shoes take any rock impact instead of your head and hips. Keep your bottom up too: hips that sag drag along the riverbed. Use backstroke and arm sculling to steer.
Defensive swimming is for shallow, rocky or obstructed rapids, where you want to ride through and fend off rocks with your feet. Ferry the same way a boat does: angle your body with your head toward the bank you want and backstroke, letting the current push you across.
Aggressive swimming
Defensive swimming is for passing through rapids. When you need to get somewhere, such as an eddy, the bank or away from a strainer, roll onto your front and swim hard freestyle with your head up, angled toward the target like a ferry. If a strainer is unavoidable, swim at it head first and try to climb up and over it. Never go feet first into a strainer.
| Situation | Swim position | Why |
|---|---|---|
| Shallow, rocky rapid | Defensive, on your back | Feet absorb hits, body stays near the surface |
| Deep, open water below a rapid | Aggressive, on your front | You cover distance fast to reach an eddy or shore |
| Strainer ahead | Aggressive, head first toward it, then climb over | Feet first can pull you under the wood |
| Long, continuous rapid with bad banks | Defensive until a safe landing appears | Shores lined with wood or undercuts are worse than the current |
| Approaching an eddy line | Aggressive, angled across it | Crossing slowly lets the current carry you past |
Most real swims mix the two: defensive through the rocks, then a hard aggressive sprint for the eddy as soon as the water deepens.
Boat and paddle
Hold the paddle if you can; one hand on the shaft is enough. A swimmer can often hold the boat by its grab loop or perimeter line as well, but drop it if it pulls you toward danger. Avoid wrapping lines around your hands or wrists, and keep loose rope out of the boat. Many packrafters carry a leash on the paddle only and none on the boat, because a boat leash is an entanglement risk in whitewater.
A packraft is a big float, easy for the group to see, and on easy water it helps you more than it hinders you. Release it when keeping it slows you down near a hazard or when the water is cold enough that every minute counts.
Getting back in
- Flip the boat upright if it is upside down by reaching across it, grabbing the far side and pulling.
- Position yourself at the side of the boat near the seat, with the paddle tucked inside or under one arm.
- Kick your legs up behind you until you are floating flat on the surface.
- Pull yourself across the boat on your stomach with a strong kick, like climbing onto a dock.
- Roll onto your back in the boat, then swing your legs around and sit up.
Some paddlers prefer to enter over the stern, which sits lower. If your boat has a spray deck, pull the deck back before re-entry. Practice in a warm lake until you can do it in under thirty seconds, then practice again with cold hands and a full drysuit.
Re-entry problems and fixes
| Problem | Likely cause | Fix |
|---|---|---|
| Can't get your chest onto the tube | Starting too upright, legs dangling | Float flat first, kick hard as you pull |
| Boat flips back over on you | Pulling on the near tube instead of reaching across | Reach to the far side and pull across, not down |
| Paddle drifts away | Both hands busy | Tuck the shaft under the deck bungee or your arm first |
| Boat full of water | Open boat in waves | Bail with a hand or helmet, or use a self-bailing floor |
| Spray deck tangles your legs | Deck still closed | Open the spray deck fully before climbing in |
| Too tired after a long swim | Cold or a long rapid | Swim the boat to shore and empty it there |
Throw bags
A throw bag is a bag of floating rope, usually 50 to 70 feet, that a person on shore throws to a swimmer. Every group running moving water should have at least one within reach.
| Role | What to do |
|---|---|
| Thrower | Stand downstream of the hazard, ideally at the downstream end of an eddy; hold the free end of the rope in your off hand; shout "rope!", make eye contact and aim over the swimmer so the line drops across them |
| Swimmer | Grab the rope, not the bag; hold it on your chest, roll onto your back and put the line over the shoulder away from the thrower, then let the current swing you to shore |
| Thrower after the catch | Brace or sit down, move downstream along the bank to soften the pull |
Never tie the rope to yourself or to the swimmer, and avoid tying knots or loops into it, which can snag. Practice coiling and rethrowing; a fast second throw matters if the first one misses. Learning to throw accurately at a moving target takes many repetitions.
Where to set safety
When you scout a rapid, also pick a spot for the throw bag. Good spots share a few traits: a stable place to stand or sit, a clear view of the likely swim, and a calm eddy or shoreline downstream where a swimmer can be pulled in. The page on reading a rapid shows how to spot that recovery water. Stand a little downstream of where a swim is most likely so you throw upstream to the swimmer and the current carries them into the eddy below you.
Helping someone else
From a packraft, you can nudge a loose boat into an eddy with your bow or let a swimmer grab your stern loop and tow them to shore. Do not let a panicking swimmer climb onto you. Rescue the person first, then the boat, then the paddle.
Rescuers often remember the order with a short phrase: reach, throw, row, go. Reach with a paddle or a hand from shore if you can. Throw a rope if you cannot reach. Row, meaning paddle out in your boat, only when throwing will not work. Go into the water yourself only as a trained rescuer, as the last option. Each step adds risk to the rescuer, so start at the top.
American Whitewater's code suggests a group of three or more with at least two separate boats, so that two people can take part in a rescue while the third stays safe. Larger groups of six or more work better split into smaller pods that keep each other in sight.
A practice plan
Skills fade over the winter. Before each season, and after any long break, work through these in order, starting in warm, calm water and moving to easy current only when each one feels routine.
| Session | Where | Drills |
|---|---|---|
| 1 | Warm lake or pool | Deliberate capsize, surface, re-entry from each side and the stern; repeat until under thirty seconds |
| 2 | Lake, wearing full river kit | Same drills in a drysuit or wetsuit, helmet and PFD; re-entry holding the paddle |
| 3 | Slow, deep current with a clear runout | Defensive and aggressive swimming, ferrying as a swimmer to an eddy |
| 4 | Same spot, with a partner on shore | Catching throw ropes, then switching roles and throwing at moving targets |
| 5 | Easy rapid with a safe pool below | Swim the rapid deliberately with throw-bag cover set below |
| 6 | Course or club session | Rescuing others, towing, boat recovery, rope systems with an instructor |
Check the gauge before sessions 3 to 5 so the flow is within the normal range for that spot; the guide to reading river gauges explains how. Wear the same life jacket and helmet you will paddle in, since fit problems show up only when you are actually swimming.
Training
Reading gets you the vocabulary; the skills come from practice. A rescue class with an instructor adds live-water swims, rope systems and entrapment scenarios that are hard to learn any other way. Cold water changes everything about a swim; the cold-water safety guide covers the first minute, and the right drysuit and layers make practice possible in spring. Know how your river is graded before deciding what you can swim. More topics are on the skills home page.
Should I hold on to my packraft when I swim?
On easy water with nothing dangerous below, yes: it floats you and is easy for others to see. Let it go if it pulls you toward a hazard, slows you down near one, or the water is cold.
How do I get back into a packraft in deep water?
Float flat beside the seat, kick hard and pull yourself across the boat on your stomach, then roll onto your back and swing your legs in. Practice until it takes less than thirty seconds.
When is it safe to stand up?
Only in very slow water or water below your knees. In faster or deeper water, keep swimming until you reach an eddy or a calm, shallow edge.
How long should a throw rope be?
Most throw bags carry 50 to 70 feet of floating rope. Longer ropes reach farther but are harder to throw accurately and to recoil quickly.
Do I need a swiftwater rescue course?
Before running Class III, or before leading others on any moving water, a course is the best way to practice rescues safely under supervision.