Gear · overview
Packrafting gear and accessories
Paddle, life jacket, cold-water clothing, bags and a repair kit: how the rest of the kit fits around the boat, and where you can and cannot save weight.
A bare packraft is a tough, shaped air mattress. To run a river in it you also need a paddle, a life jacket you keep on, clothing that still works after a swim, and some way to carry a tent and food on the bow without the boat pulling sideways. The pages here go through that kit one piece at a time and keep an eye on weight, since most packraft trips start with a walk.
Start with the safety core
A life jacket, a paddle and clothing matched to the water temperature go on every trip, from a lazy float to a canyon run. Read the guide to choosing a PFD before anything else. A good jacket is short in the body so it does not ride up over a spray deck, has a buckle you can work with cold hands, and carries a whistle. Then think about the water. Snowmelt rivers in Colorado run cold even in July, so the page on drysuits, drytops and layering explains when a drysuit earns its weight and when a wetsuit or synthetic layers are enough. The cold-water safety page explains why water temperature decides what you wear.
Move the boat, fill the boat
A four-piece breakdown paddle packs inside a backpack, and the paddle guide walks through length, blade size, feather angle and shaft material. The other daily chore is getting air into the boat. Most paddlers use a lightweight inflation bag and top off by mouth; some add a small rechargeable pump. The page on inflation bags and pumps compares the options.
Carry and outfit
Gear stays dry in roll-top bags, either lashed to the bow or stowed inside the tubes of a boat with a cargo zipper. See dry bags and load placement for packing tips that keep a loaded boat tracking straight. For moving water, a supportive backband and a set of thigh straps give you control. A whitewater helmet belongs on your head anywhere you could swim into rocks, and river footwear has to handle both the hike and the swim.
Build a kit by trip type
Gear needs change more with the water and the distance from help than with the boat. Use this as a starting frame, then adjust for the river, the season and your group.
| Item | Flatwater day trip | Easy river, Class I to II | Whitewater, Class III and up | Remote multi-day |
|---|---|---|---|---|
| Life jacket | Foam paddling vest | Foam paddling vest | Whitewater vest, snug fit | Foam vest plus knife and whistle |
| Paddle | Touring blade, longer setting | All-round blade | Whitewater blade, solid joints | Plus a group spare |
| Clothing | Dress for the water temperature | Splash layers or wetsuit in cool water | Drysuit in cold water | Drysuit or full layering system, spare warm layer |
| Helmet | Usually not needed | Where rocks are in play | Always | Depends on the river |
| Outfitting | Seat or backrest | Backband | Backband and thigh straps | Whatever the hardest rapid demands |
| Bags | One small dry bag | Small bag plus a day bag | Minimal, tight lashing | Full bow load or inside-tube storage |
| Repair | Tape | Tape and a patch | Tape, patches, adhesive | Full repair kit, valve parts |
On a flat lake an hour from the car, the main risks are wind and cold water, so the jacket and the clothing carry most of the weight of the decision. On whitewater, control and protection rise to the top: outfitting, a helmet and a jacket that stays put in a swim. On a remote trip the question becomes what happens if something breaks. That is where a spare paddle, a real repair kit and a warm layer you can reach without unpacking earn their weight. The trip guides list river-specific notes on season and hazards that should shape the final list.
What a first kit looks like
If you are starting out, you need less than the gear lists suggest. A sensible first kit is the boat, a four-piece paddle, a foam life jacket that fits, an inflation bag, one or two dry bags, clothing chosen for the water rather than the air, and a roll of repair tape. Add a helmet before you paddle anywhere rocky. Everything else can wait until you know what kind of trips you like. The beginner primer puts that kit in context, and if you would rather try before you buy, the page on renting a packraft explains what usually comes with a rental.
Where you can and cannot save weight
Packrafters count ounces. Some cuts cost you nothing on the water, and some leave you short in a swim.
- Fine to trim: extra bags, a heavy pump on walk-in trips, camp luxuries, duplicate cook gear, a second set of camp clothes.
- Trim with care: paddle weight (a carbon shaft saves weight but costs more), helmet style on easy water, spare layers in warm weather.
- Do not trim: the life jacket, a paddle that is strong enough for the river, the clothing that keeps you warm after a swim, and the repair kit on remote trips.
Lists, bikes and fixes
When you are packing for a specific trip, use the packing checklist, which splits gear into day trip, overnight and remote expedition columns. If your approach is on two wheels, the bikerafting setup guide covers strapping a bike to the bow. Sooner or later a sharp rock or stick will put a hole in your boat, so carry a small kit and read patching and repairing a packraft before you need it.
Where to start
If you are new, read the life jacket, paddle and clothing pages first, then the packing list. Paddlers moving up to harder water should start with outfitting and helmets. For how all this works with the boat itself, the packraft anatomy guide shows where D-rings, valves and attachment points sit. Gear lasts longer when you rinse, dry and store it properly between trips; the care and storage notes cover boats, suits and bags together.
 01
Choosing a packraft paddle
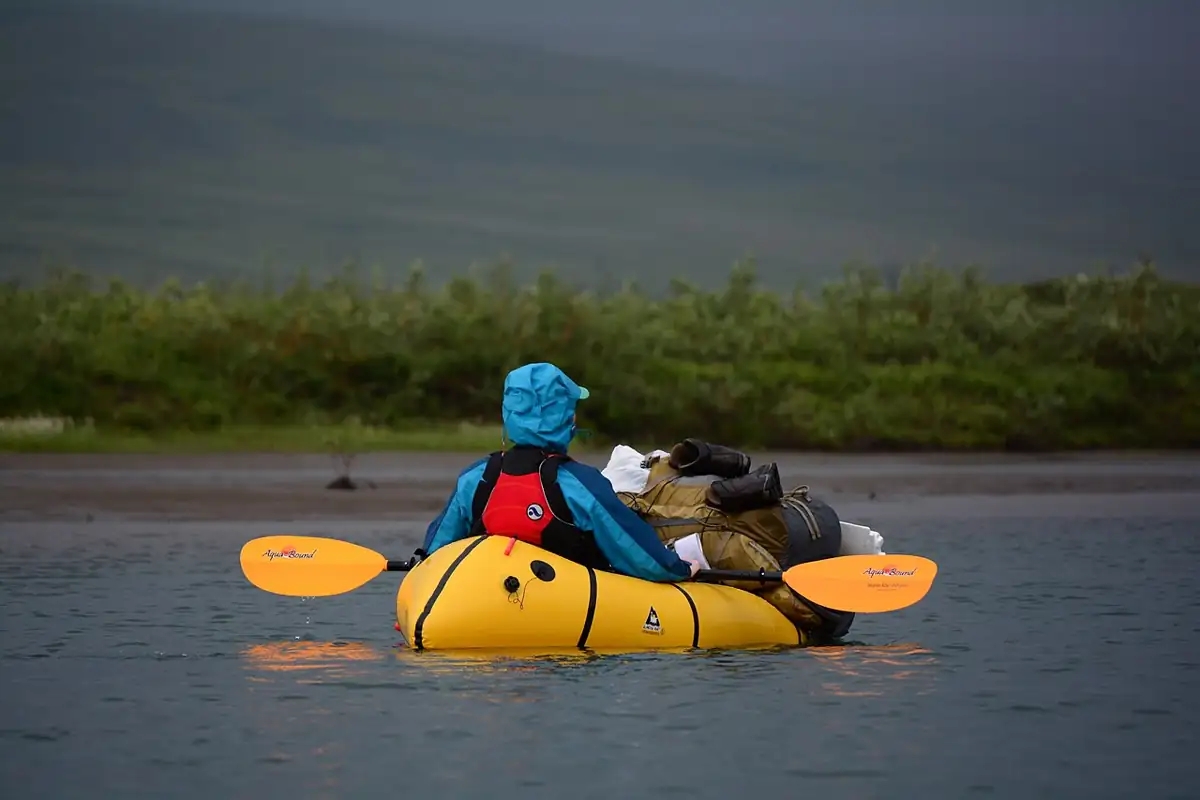
Length, blade area, feather and shaft material for a four-piece paddle that packs small and still pulls hard.
 02
Inflation bags, pumps and topping off
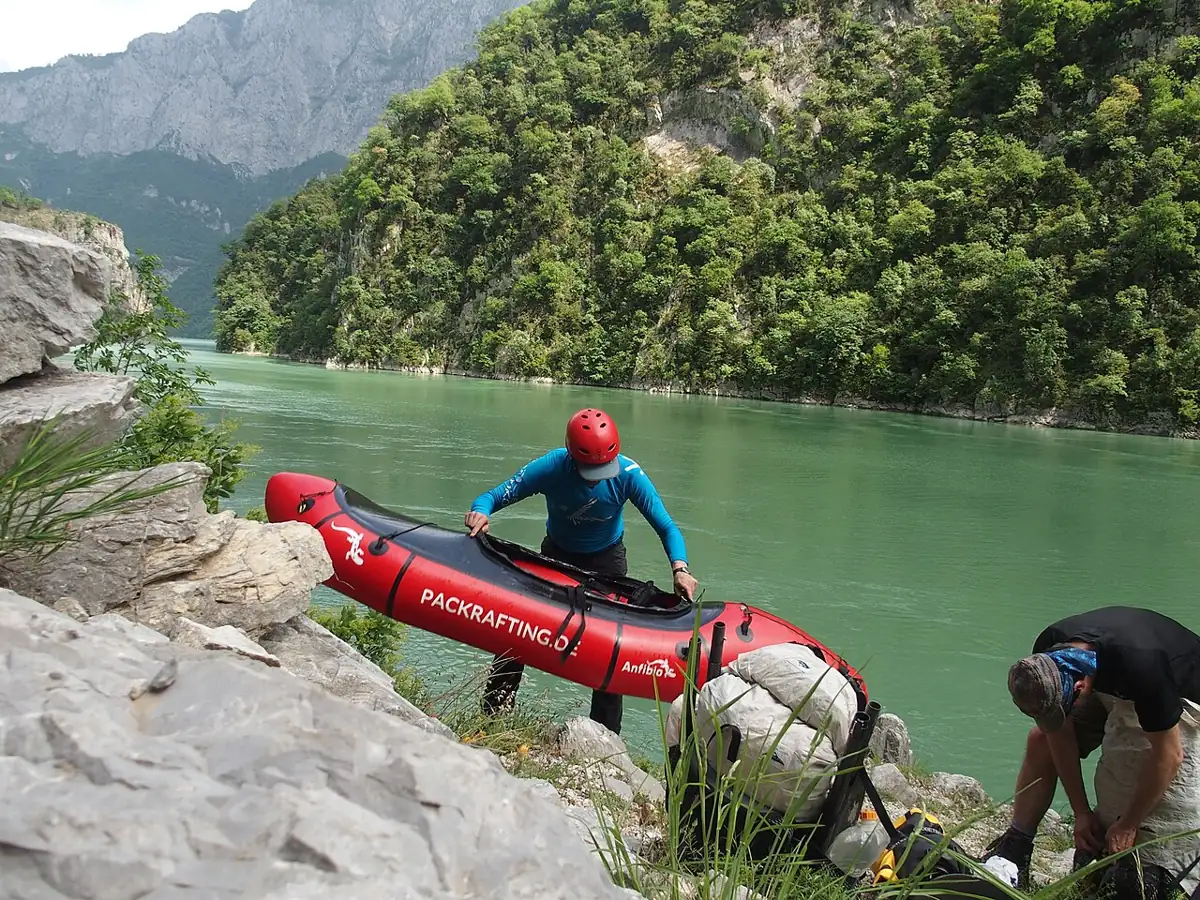
Bag, mouth or battery pump: the ways to fill a packraft quickly and keep it firm as water and sun change the pressure.
 03
Life jackets for packrafting
What a paddling PFD needs to do in a packraft, how to read the label, and how to check the fit before you trust it.
 04
Drysuits and layering for packrafting
Matching your clothing to the water temperature: when a drysuit is worth carrying and how to layer under it.
 05
Dry bags and loading a packraft
Roll-top bags, where to put them on the boat, and how load placement changes the way a packraft handles.
 06
Thigh straps and backbands
Outfitting that ties your hips and knees to the boat, with setup steps, fit checks, release drills and the rivers where it pays off.
 07
Helmets for packrafting
When to wear a whitewater helmet, what the EN 1385 label means, a five-step fit test and how shell styles compare.
 08
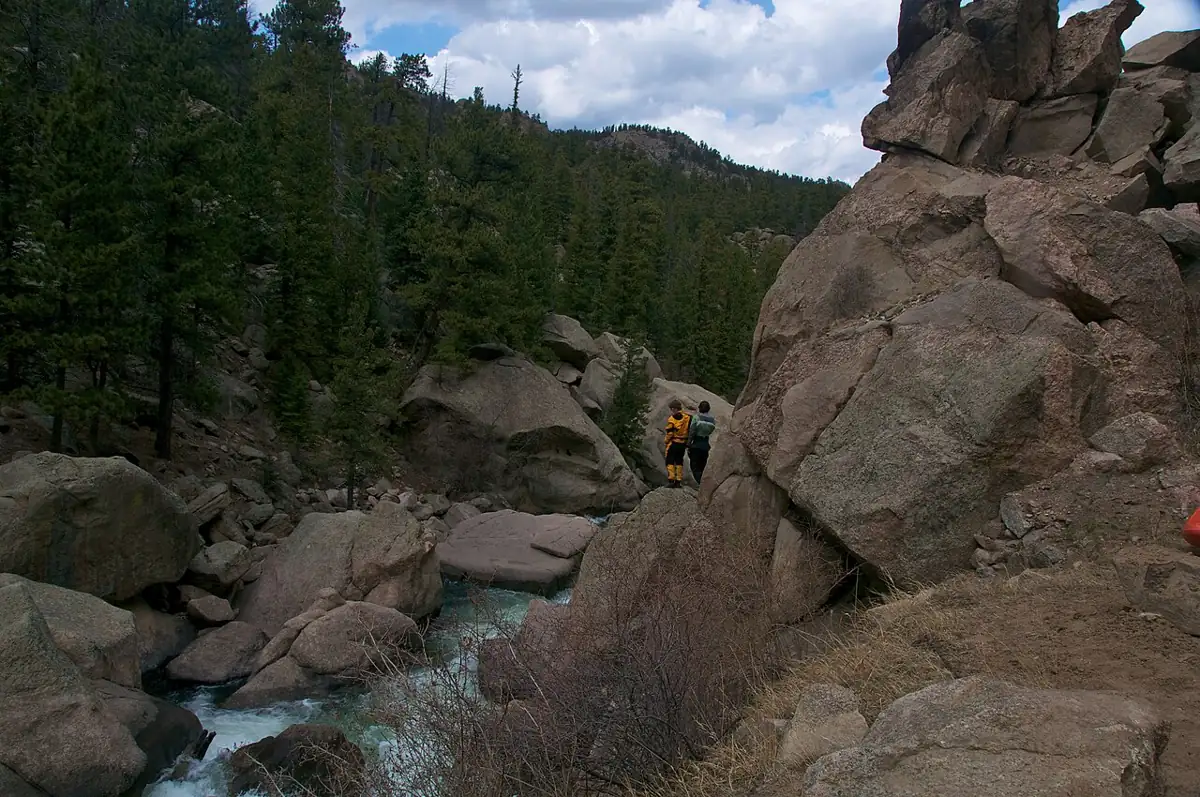
Footwear for packrafting
Shoes that drain, grip wet rock and handle the hike in, matched to trip type, with socks and booties for cold water.
 09
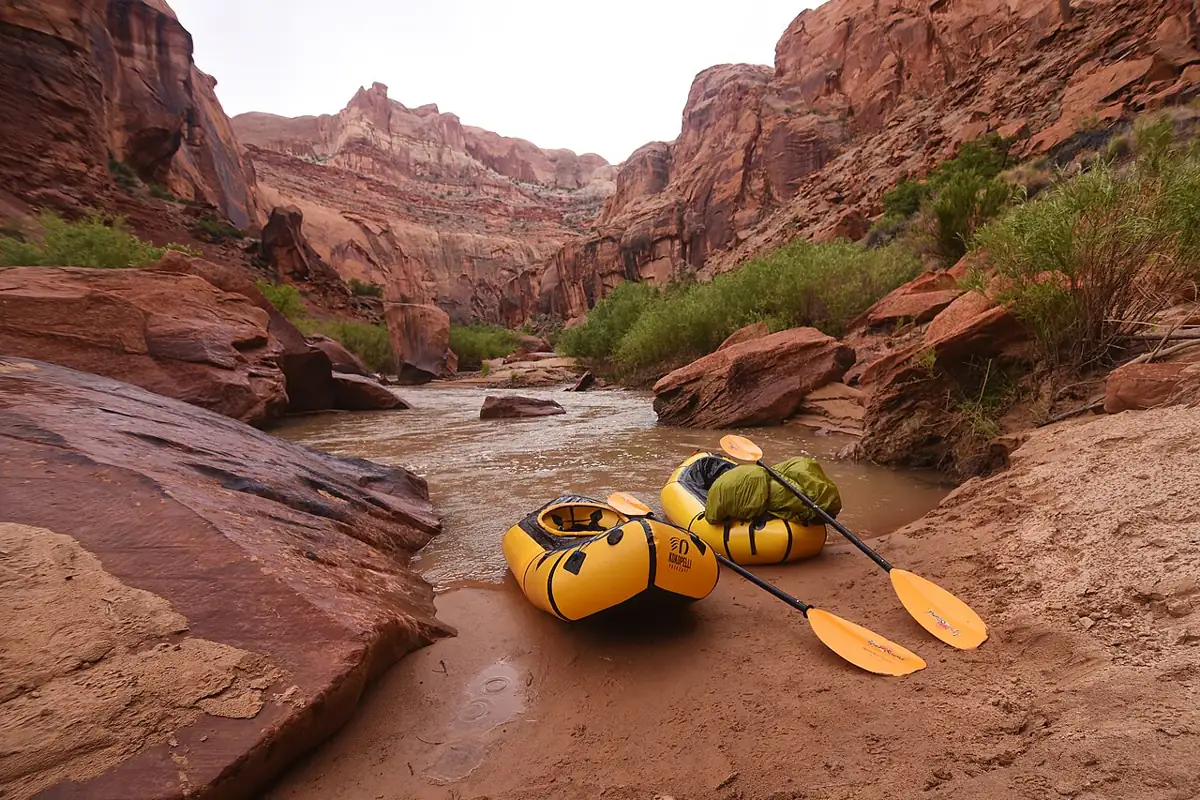
Packrafting packing list
Printable checklists by trip type: day float, multi-day desert and cold whitewater, plus repair, camp and trailhead checks.
 10
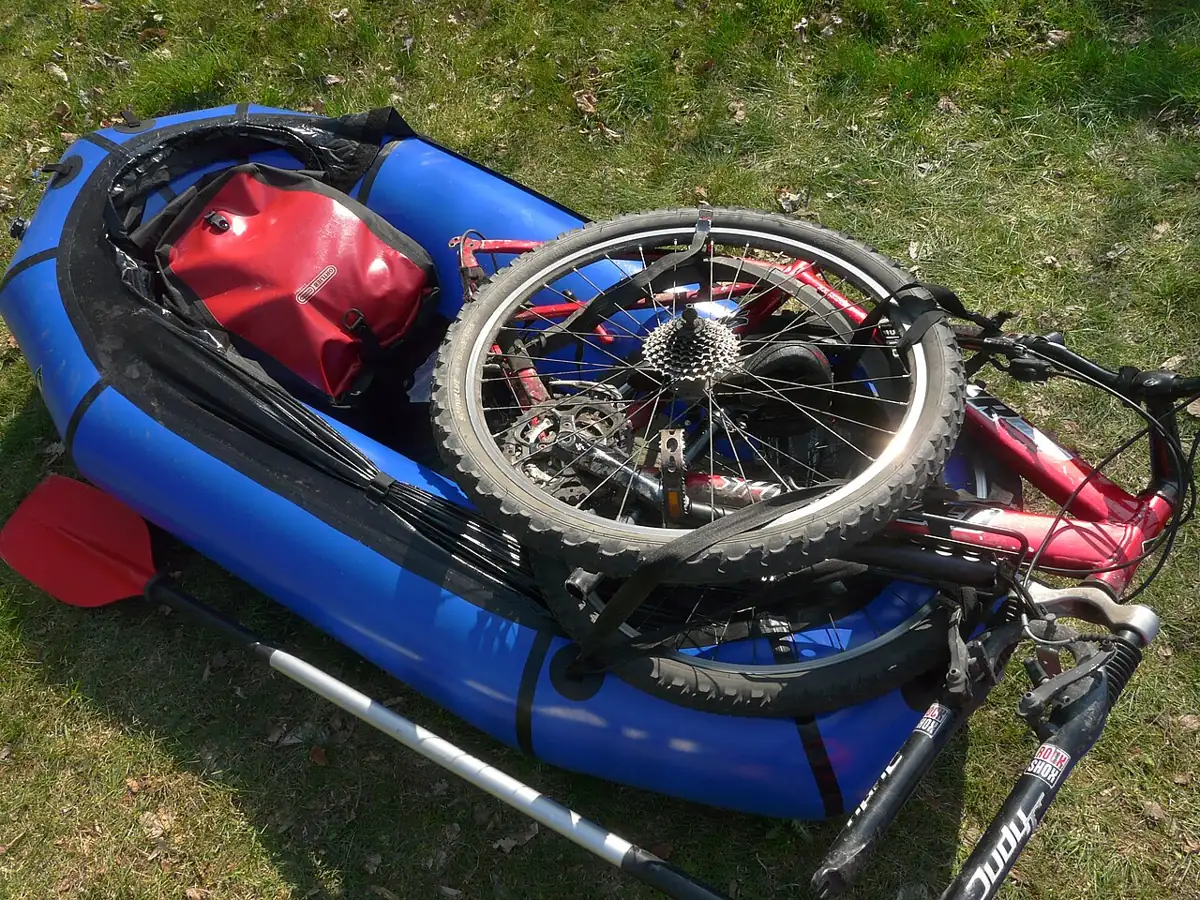
Bikerafting setup
Strapping a bicycle to the bow without sinking the nose or slicing the floor, plus bike prep, balance and packing the raft for the ride.
 11
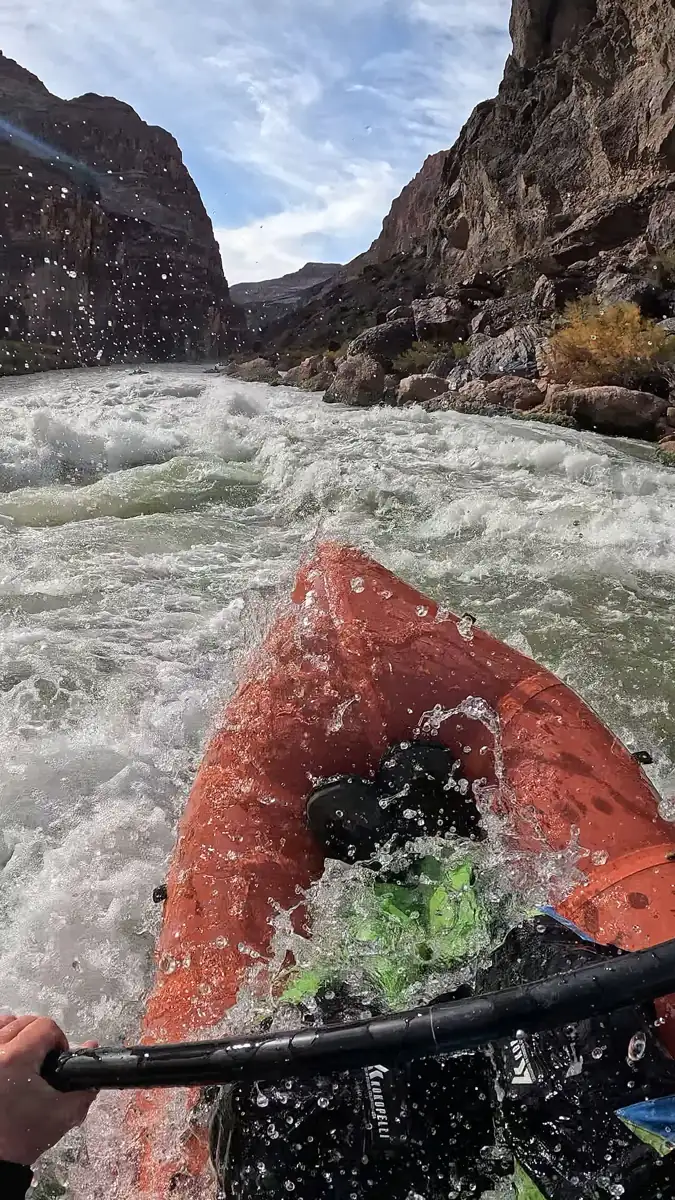
Packraft repair: field fixes and home patching
Field tape and home glue patches for tears and pinholes, a repair kit checklist, valves and zippers, and the damage that needs a professional.